Overview - Appendices - Next Chapter
Ahh, step 1. Don’t you love a fresh start on a blank slate? And then selecting that singular brick onto which you will build your entire palatial estate?
Unfortunately, when you’re building a computer program, step 1 can get… complicated. And frustrating. You have to make sure your environment is set up for the programming language you’re using, and you have to figure out how to compile and run your program in that environment.
Fortunately, it’s very fairly to set up a development environment with Rust, and
we won’t be needing anything besides a text editor, rust and cargo. To
install these programs, we will be using a program called rustup, but there
are other ways available to get Rust up and running.
If you are using Linux, or any Unix-System including MacOS, just follow the instructions below. If you are on Windows, you’ll need access to a Linux system. The easiest way is to use the Windows Subsystem for Linux (WSL), which is available for Windows 10. You can run and install Rust on Windows, too, but you will soon run into issues while you are following along this tutorial and won’t be able to complete it.
A lot has happened since this tutorial was published in 2019, and one of the changes is that for one of the libraries in this tutorial, there now exists an alternative that also runs on Windows machines. I will point out the alternative once we progress to that point, but this tutorial will still use the old library.
How to install rust with rustup
If you visit the rustup web site, it tries to auto-detect
your operating system and displays the best way to get rustup installed.
Usually, you download and execute a script, rustup-init, which does the
installation for you.
However, if downloading and executing a remote script is a red flag to you, you
can click on other installation
options and
download rust-init directly for your platform to start the installation.
Finishing the installation on Linux, macOS or Windows Subsystem for Linux (WSL)
After the installation is done, the installer will tell you that it’s finished by printing:
Rust is installed now. Great!
To start using Rust, you either need to restart your terminal or type
$ source $HOME/.cargo/env
Adding a linker
Rust needs a linker of some kind to operate. It’s likely that it’s already installed, but when you try to compile Rust problems and get errors telling you that the linker could not be executed, you need to install one manually. C comes with a correct linker, so it’s worth following the original tutorial on how to install C.
Check your installation
To verify that Rust has been installed correctly, run the following command:
$ rustc --version
For Cargo, run:
$ cargo --version
In both cases, you should see the program name, the version number and a few other information. If not, please refer to the Installation chapter of the official Rust book to troubleshoot your installation.
The main function
Go to a directory where you would like to start building and type
$ cargo init hecto
hecto is the name of the text editor we will be building. Executing this
command will create a folder called hecto which has already set up git (and
therefore includes a folder called .git and a file called .gitignore). We
are not going to use git for this tutorial, so you can ignore these two files
for the duration of this tutorial.
Let’s take a look of what else has happened:
|
@@ -0,0 +1,9 @@
|
|
|
1
|
+
[package]
|
|
2
|
+
name = "hecto"
|
|
3
|
+
version = "0.1.0"
|
|
4
|
+
authors = ["Philipp Flenker <hello@philippflenker.com>"]
|
|
5
|
+
edition = "2018"
|
|
6
|
+
|
|
7
|
+
# See more keys and their definitions at https://doc.rust-lang.org/cargo/reference/manifest.html
|
|
8
|
+
|
|
9
|
+
[dependencies]
|
|
@@ -0,0 +1,3 @@
|
|
|
1
|
+
fn main() {
|
|
2
|
+
println!("Hello, world!");
|
|
3
|
+
}
|
Before we go into the details, let’s first figure out what we are looking at.
This is a diff, and it shows you the changes between one code change and the
next. Below each step, you will find a link to this current step on Github,
where you can also browse the contents of other files at that point of the
tutorial. This is very useful in case you are lost.
Every diff tells you if files have been added, modified or deleted, and in case of a modification, it shows deleted code in red, and added code in green.
As you can see from the diff, cargo init has created a file called
Cargo.toml, which is pre-filled with some pieces of information. More
specifically, the square brackets denote sections. The dependencies section
below is empty, and the package section contains:
- The name of the program, which defaults to the cargo package name.
- The current version of the program, which, by default, starts with
0.1.0. - A list of authors, which is in this case pre-filled with my name and mail address
- A field called
edition, which tells rust which edition compiler should be used.
If you are familiar with JavaScript, the Cargo.toml is comparable to the
package.json. It describes your package as well as its dependencies to other
packages.
Additionally, there is a file called src/main.rs, which already contains some
source code:
fn main() {
    println!("Hello, world!");
}
This code defines a function called main. The main() function is special. It
is the default starting point when you run your program. When you return from
the main() function, the program exits and passes the control back to the
operating system. Therefore, without any knowledge of Rust, we can infer that
this program follows the ritual of the
ancients by printing
out “Hello, World!” and exiting. Let’s see how we can run this.
Rust is a compiled language. That means we need to run our program through a Rust compiler to turn it into an executable file. We then run that executable like we would run any other program on the command line.
To compile main.rs, make sure you are in the hecto folder (Run cd hecto
after cargo init hecto), and then run cargo build in your shell. The output
will look similar to this:
    Compiling hecto v0.1.0 (/Users/flenker/Documents/Repositories/hecto)
    Finished dev [unoptimized + debuginfo] target(s) in 0.45s
This will produce an executable named hecto and place it in a new folder
called target/debug/. Additionally, a new file will be created called
Cargo.lock. It is automatically generated and should not be touched. When we
add dependencies later to the project, the Cargo.lock will also be updated.
Its changes are not relevant to this tutorial and are therefore hidden from the
diffs.
If you look further at the contents of target/debug, you will find that
several more files have been generated. These files are mostly needed by
cargoto make rebuilding the code more efficient (more on that in a second).
You won’t need any of these files to run hecto except for the executable
itself, to run hecto, type ./target/debug/hecto (or ./hecto, if you have
already navigated into target/debug) and press Enter. The program
should output Hello, world! and then exit.
Compiling and running
Since it’s very common that you want to compile and run your program, rust
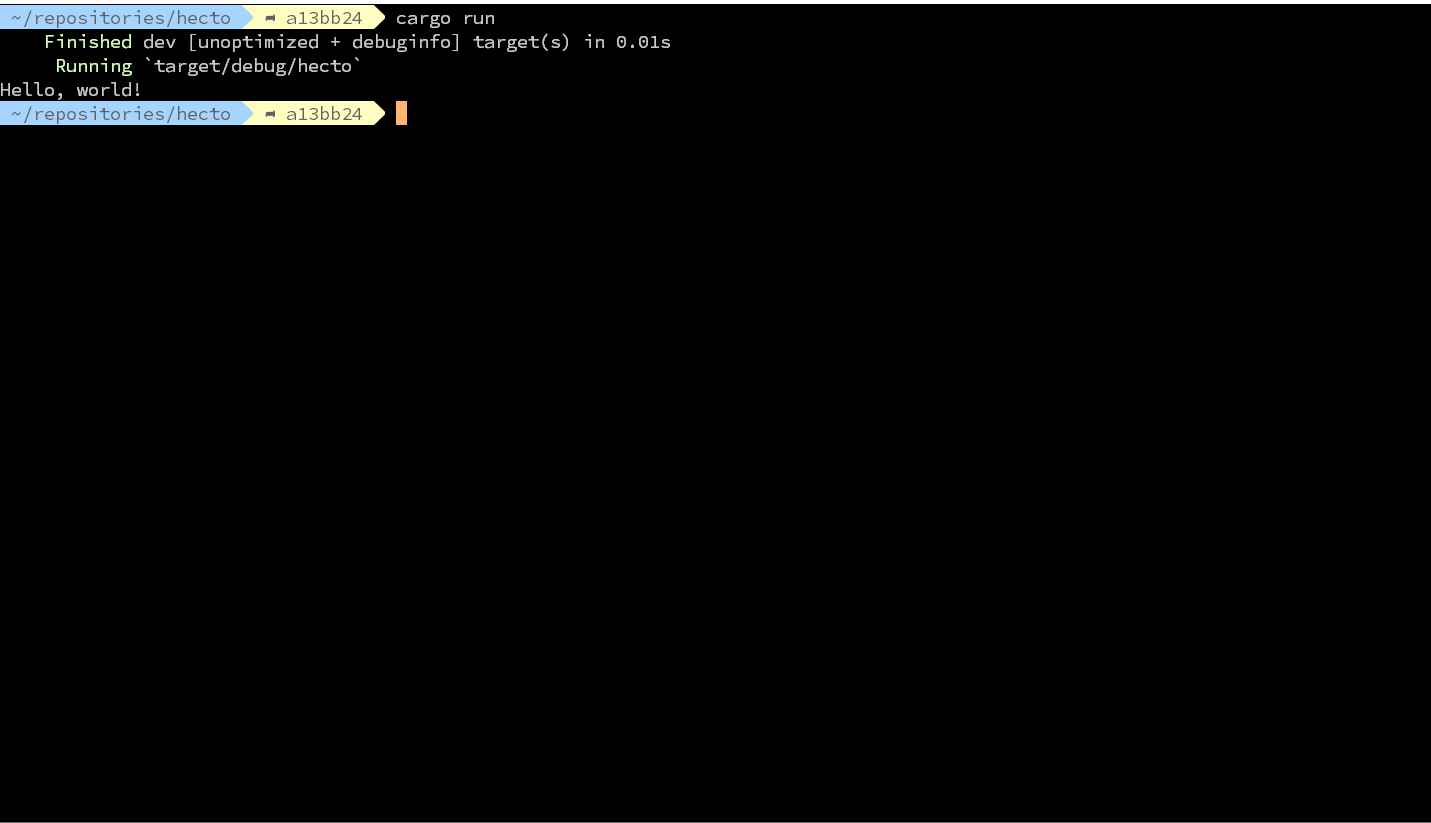
combines both steps with the command cargo run. If you run that command now
after cargo build, you might notice that the output changes a bit. It now
looks similar to this:
    Finished dev [unoptimized + debuginfo] target(s) in 0.00s
     Running `target/debug/hecto`
Hello, world!
As you might have noticed, cargo does not output a line starting with
Compiling, as it did before. That it because rust can tell that the current
version of main.rs has already been compiled. If the main.rs was not
modified since the last compilation, then rust doesn’t bother running the
compilation again. If main.rs was changed, then rust re-compiles main.rs.
This is more useful for large projects with many different components to
compile, as most of the components shouldn’t need to be recompiled over and over
when you’re only making changes to one component’s source code.
Try changing the return value in main.rs to a string other than Hello,
World. Then run cargo run, and you should see it compile. Check the result to
see if you get the string you changed it to. Then change it back to Hello,
World, recompile,and make sure it’s back to returning Hello, World.
After most steps in this tutorial, you will want to recompile the code, see if
it finds any errors in your code, and then run hecto by calling cargo run.
In the next chapter, we’ll work on reading individual key presses from the user.